Transform your living space with these creative and budget-friendly DIY wall art projects that anyone can tackle. Whether you’re looking to add personality to your home or create a stunning focal point, Let’s learn more about this topic below with Dinosaur Game. These projects will help you achieve professional-looking results without breaking the bank.
Creating an abstract canvas painting is one of the most accessible ways to start your DIY wall art journey. You’ll need a blank canvas, acrylic paints in your chosen colors, paintbrushes of various sizes, and painter’s tape. Begin by selecting a color palette that complements your room’s existing decor. Consider using 3-4 colors that work harmoniously together, including one neutral tone to balance the composition.
Start by taping off sections of your canvas to create geometric shapes or interesting patterns. Apply your base color and allow it to dry completely. Then, layer additional colors, experimenting with different brushstrokes and techniques. You can create texture by dabbing, dragging, or swirling your brush. Don’t worry about perfection – the beauty of abstract art lies in its spontaneity and emotional expression.
Once you’re satisfied with your composition, carefully remove the tape while the paint is still slightly wet to achieve clean lines. Consider adding metallic accents or dimensional elements using texture paste for added visual interest. Let your artwork dry completely before hanging it in your chosen space.
Read more: How to Organize Your Home Like a Pro in 7 Days
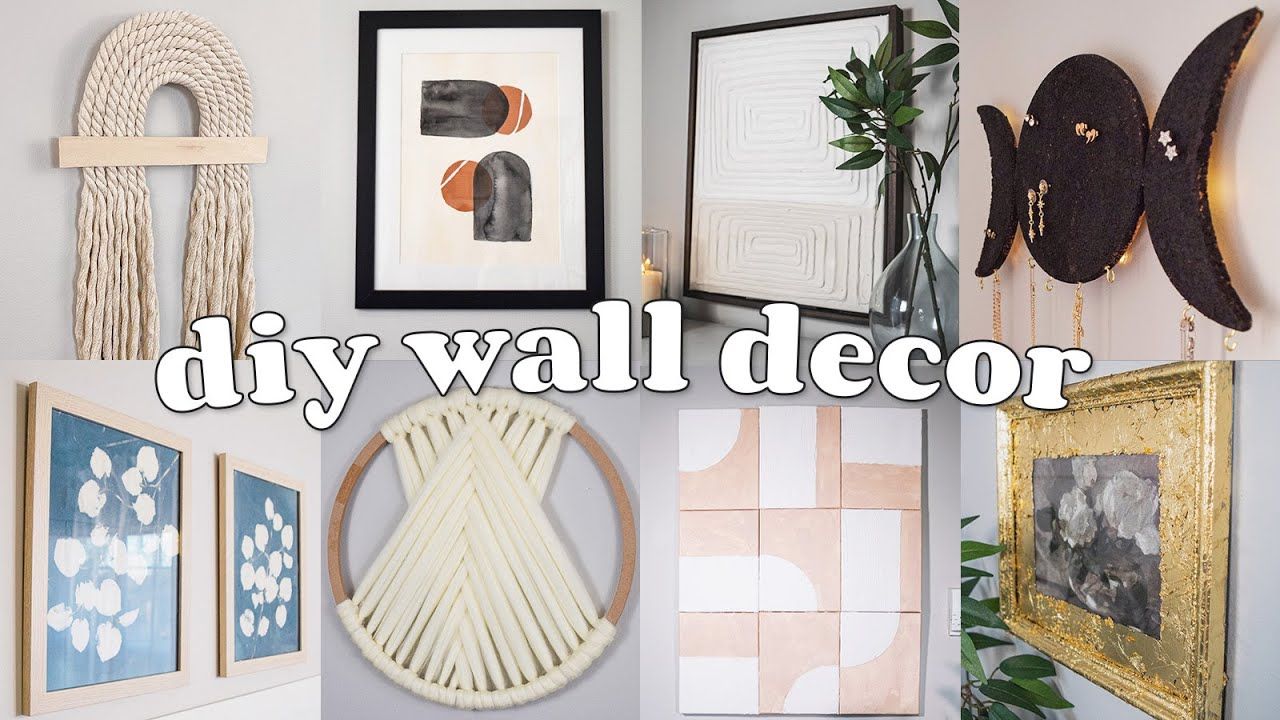
A woven wall hanging adds texture and warmth to any room while incorporating natural elements into your decor. You’ll need a wooden dowel or branch, various yarns in different textures and colors, a large-eye needle, and scissors. Begin by cutting your yarn into lengths approximately twice the desired finished length of your wall hanging.
Create your base by tying pieces of yarn onto the dowel using simple knots. Experiment with different weaving techniques such as tabby weave, rya knots, or soumak weaving. Don’t be afraid to mix textures and colors to create visual interest. Consider incorporating natural elements like feathers, beads, or small wooden pieces for added dimension.
As you work, maintain even tension throughout your weaving to ensure a professional finish. Leave some areas looser or create intentional gaps for a more organic look. Once complete, trim any uneven edges and style the bottom into your desired shape – straight across, diagonal, or with varying lengths.
Create a stunning botanical gallery wall using pressed flowers and leaves from your garden or local area. You’ll need clear glass frames, acid-free paper, fresh botanical specimens, heavy books for pressing, and mounting supplies. Start by carefully selecting and pressing your botanical specimens between sheets of paper in heavy books for several weeks.
While waiting for your specimens to press, plan your gallery wall layout using paper templates. Consider varying frame sizes and orientations to create visual interest. Once your botanicals are completely dry, carefully arrange them on acid-free paper, considering composition and balance. Secure them using small dots of archival-quality glue.
Mount your pressed botanical arrangements in frames, ensuring they’re properly centered and secure. When hanging your gallery wall, start with the central piece and work outward, maintaining consistent spacing between frames. This project creates a timeless, nature-inspired focal point that works in any room.
This modern wood wall art project combines clean lines with natural textures. You’ll need thin wood strips or paint stirrers, wood stain or paint in various colors, a saw or cutting tool, wood glue, and a backing board. Begin by cutting your wood pieces to various lengths, keeping angles consistent for a cohesive design.
Arrange your pieces in a geometric pattern before securing them. Consider creating a herringbone pattern, sunburst design, or abstract composition. Once you’re satisfied with your layout, stain or paint your wood pieces in your chosen colors. Remember to include some natural wood tones for contrast and warmth.
After all pieces are dry, carefully glue them to your backing board, maintaining your planned pattern. Use clamps or heavy books to ensure proper adhesion while the glue dries. Add a hanging mechanism to the back of your completed piece, ensuring it’s sturdy enough to support the weight of your artwork.
Read more: Minimalist Home Makeover: A Step-by-Step Guide
Create a dramatic focal point with oversized paper flowers that add dimension and color to any wall. You’ll need large sheets of cardstock or construction paper in various colors, scissors, glue, and wire or string for hanging. Start by selecting a color palette that complements your room’s decor, including both bold and neutral tones.
Follow templates or create your own petal patterns in varying sizes. Cut multiple sets of petals for each flower, working from largest to smallest. Shape your petals by curling edges and creating natural-looking curves. Layer petals from largest to smallest, securing them with glue as you work toward the center.
Arrange your completed flowers on the wall, varying sizes and colors for visual interest. Consider creating a climbing effect or clustered arrangement. Secure flowers to the wall using removable adhesive strips or small nails, depending on their weight and your wall type.
When embarking on these DIY wall art projects, remember that perfection isn’t the goal – personality and creativity are what make these pieces special. Start with small projects and work your way up to larger ones as you gain confidence. Always prepare your workspace properly and gather all materials before beginning.
Consider the scale of your artwork in relation to your wall space, and don’t be afraid to make multiple pieces to create a cohesive display. Remember to properly secure your artwork using appropriate hanging hardware for its weight and your wall type. These projects not only save money but also provide a sense of accomplishment and personal touch to your home decor.
With these five DIY wall art projects, you can transform any room in your home while expressing your creativity and personal style. Remember to take your time, enjoy the process, and don’t be afraid to experiment with different techniques and materials to make each piece uniquely yours.